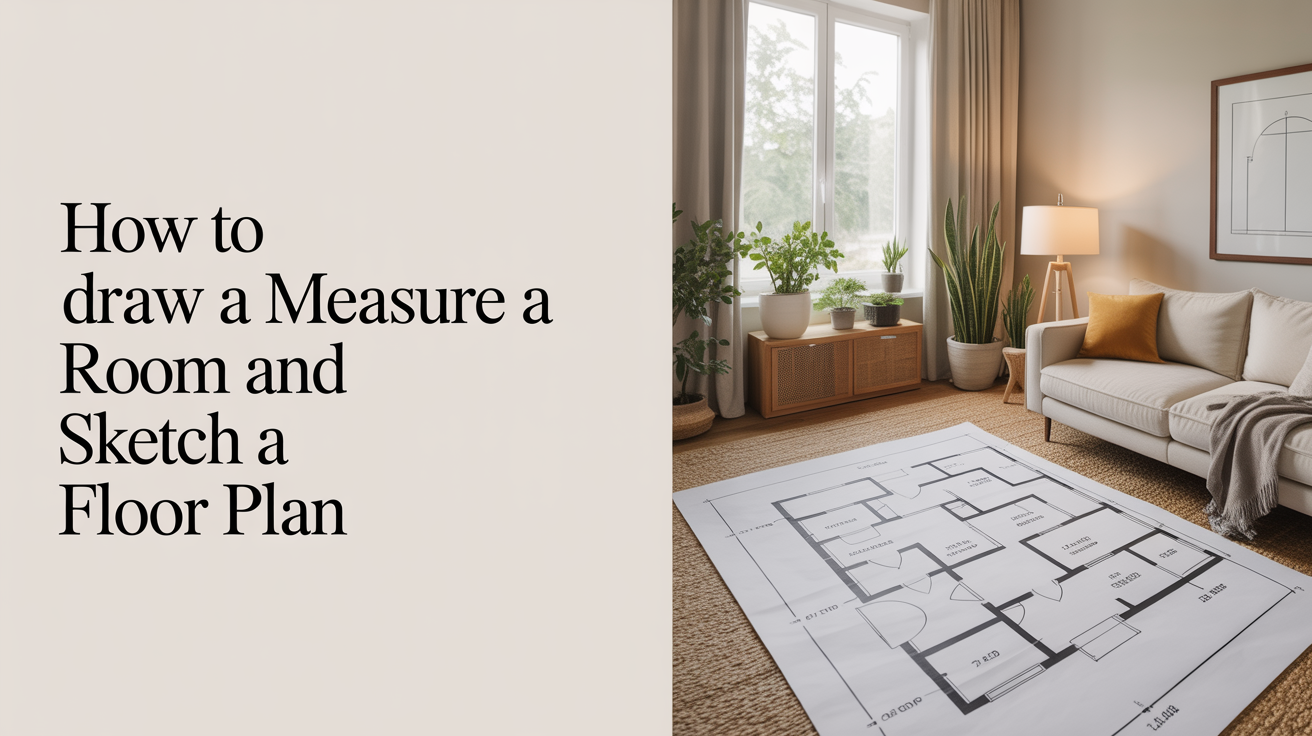
How to Measure a Room and Sketch a Floor Plan
Learn how to measure a room accurately and draw a floor plan to scale by hand. A step-by-step guide for beginners with no drafting experience needed.
Measuring a room and putting that information down on paper as a scaled drawing is one of the most practical skills you can pick up as a homeowner, renter, or anyone curious about how buildings work. You do not need drafting experience. You need a tape measure, a few sheets of graph paper, a pencil, and about 30 minutes per room.
This guide walks through the whole process from scratch: how to measure walls, doors, and windows, how to choose a scale, and how to turn those numbers into a clean hand-drawn floor plan you can actually use.
What You Need Before You Start
Keep your supply list short so you actually do this instead of waiting until you can buy the "right" tools.
| Item | Notes |
|---|---|
| Tape measure | 25 ft (7.6 m) is enough for most rooms; longer is better for open floor plans |
| Graph paper | 4 squares per inch (or millimeter-grid paper) works well |
| Pencil and eraser | Pencil only, you will revise |
| Ruler or architect's scale | A regular ruler works for a simple sketch |
| Notepad | For recording raw measurements before you draw |
A second person to hold the far end of the tape makes things faster, but you can work alone by hooking the tape's end clip to a doorknob or using painter's tape to anchor it to a wall.
Step 1: Make a Rough Sketch First
Before you touch the tape, walk into the room and draw a rough, freehand outline of its shape on your notepad. Do not worry about proportions at this stage. You just want a placeholder you can write numbers on.
Label each wall with a letter or number (Wall A, Wall B, and so on). Note where the doors and windows are. Mark which direction the door swings. This rough sketch becomes your measurement worksheet.
Most rooms are rectangular, but many have closets, bump-outs, or angled corners. Treat each sub-section as its own rectangle and break the shape into parts. You can combine them later on the finished drawing.
Step 2: Measure Every Wall
Measure each wall from corner to corner along the baseboard, not across the middle of the room. Baseboards sit at floor level, and that is where walls are defined for floor plan purposes.
Tips for accurate readings
- Always measure in feet and inches (e.g., 12'4") if you are working in imperial, or in meters and centimeters if you are working in metric. Pick one system and stay with it for the whole room.
- For a long wall, hook the tape at one end and read the full distance to the other end in a single pull. Do not add together two short measurements if you can take one long one, small errors compound.
- Round to the nearest 1/4 inch (or nearest centimeter). Trying to record every 1/16 inch adds noise without adding useful accuracy for a hand sketch.
- Write each measurement on your rough sketch worksheet as you go. Do not try to hold numbers in your head.
Doors and windows
For each door, measure three things:
- The distance from the nearest corner to the edge of the door frame (called the "rough opening" position)
- The width of the door opening itself
- Which way the door swings
For each window, measure:
- The distance from the nearest corner to the edge of the window frame
- The width of the window opening
You do not need to measure window heights for a floor plan, heights show up on elevations, which are a separate type of drawing. The floor plan only shows width and position.
If the room has a closet, treat its interior as its own small room: measure the back wall, both side walls, and the opening.
Step 3: Choose a Scale
Scale is the ratio between the drawing and the real thing. For a hand-drawn floor plan, the two most common choices are:
- 1/4 inch = 1 foot (written as 1/4" = 1'), standard for residential floor plans in the US and Canada
- 1:50, common in countries that use the metric system; 1 cm on paper = 50 cm (0.5 m) in real life
With a 1/4" = 1' scale on graph paper with 4 squares per inch, each small square equals 3 inches (about 7.5 cm). That gives you a workable resolution for most rooms.
Check your room's dimensions first. A 14-foot-wide (4.3 m) room at 1/4" = 1' comes out to 3.5 inches (about 8.9 cm) on paper. A 14x18-foot (4.3x5.5 m) room fits comfortably on a single sheet. If your room is larger and the drawing would run off the page, switch to 1/8" = 1' (1:100 in metric), which halves everything.
For more on how scale works across different types of drawings, see How to Read a Floor Plan.
Step 4: Draw the Walls
Now open a fresh sheet of graph paper. Start with the exterior walls.
- Find a corner to start from. Pick the bottom-left corner of the room on your sketch. Place your pencil point a few squares in from the edge of the paper, leave a margin for notes.
- Draw the first wall. Convert your real measurement to paper measurement. If Wall A is 13 feet 6 inches at 1/4" = 1', that is 13.5 feet, which equals 3.375 inches on paper. On 4-squares-per-inch graph paper, that is 13.5 small squares. Count out 13 squares and a half square, mark the endpoint, and draw the line.
- Turn the corner and draw the next wall. Keep the walls at right angles unless the room has a diagonal. The grid lines on graph paper make 90-degree corners easy to maintain.
- Close the shape. After you draw all the walls, the last line should meet back at your starting corner. If it does not, recheck your measurements, a gap or overlap means a recording error somewhere.
Draw walls as thick lines, not thin single lines. A standard convention is to draw two parallel lines and fill the space between them solid (or hatched). The gap between the two lines represents wall thickness. For a simple sketch, a wall drawn 4 inches thick (one small square at 1/4" = 1') is a reasonable approximation for an interior wall. Exterior walls are thicker, often 6 inches (15 cm) or more, so use two squares.
Drawing closets and alcoves
Closets attach to the main wall outline. Draw the closet's interior walls as extensions off the main walls, using the same conventions. The opening (closet door) gets drawn the same way as a room door.
Step 5: Add Doors and Windows
Doors and windows break the wall lines and are drawn as standardized symbols. If you want a deep dive on how these symbols work, Door and Window Symbols on Floor Plans covers each type in detail.
Doors
At each door location:
- Erase (or do not draw) the wall line where the door opening falls.
- Draw a thin line representing the door panel, it should equal the door's width, starting from the hinge side.
- Draw a quarter-circle arc from the free end of the door panel to the wall, showing the swing path.
A standard interior door in the US is 2'8" (81 cm) wide; common sizes range from 2'0" to 3'0" (61–91 cm). The arc always swings into the room where the door opens, so think about which side the hinges are on before you draw.
Windows
Windows are drawn as a gap in the wall line with two parallel thin lines inside the gap, representing the glass panes. The gap equals the window's width. You do not draw a swing arc for windows.
Step 6: Label and Check Your Drawing
A floor plan without labels is hard to use. Add these:
- Room name centered in the space (Living Room, Kitchen, Bedroom 1, etc.)
- Dimension lines showing the length of each wall, thin lines with arrows or tick marks at each end, with the measurement written above
- Scale notation in a corner (e.g., "Scale: 1/4" = 1'")
- North arrow if you know which direction is north (useful when this drawing will be used alongside other plans)
Then double-check by adding up the widths of all the rooms and comparing to the overall building dimension. If you measured an entire floor, the sum of all room widths plus wall thicknesses should match a single overall measurement taken from outside.
What to look for
- Walls that do not close
- Door swings that overlap furniture or run into other walls
- Measurements that seem too large or too small compared to what the space feels like
Once the drawing looks right, go over your pencil lines with a fine-tip pen if you want a cleaner result. Keep the pencil version for revisions.
A Word on Accuracy and Professional Review
A hand-sketched floor plan made this way is perfectly useful for furniture planning, comparing rental apartments, or getting a general feel for a space. It is also a good starting point if you are going to hand the project off to a professional.
It is not a substitute for a set of construction documents stamped by a licensed architect or engineer. If your floor plan will be used for a building permit application, a renovation contract, or any structural work, have a licensed professional prepare or review the drawings. Building codes and permit requirements vary significantly by region, so check with your local building department on what they need before you submit anything.
For an overview of what a floor plan actually shows and how it fits within a larger drawing set, What Is a Floor Plan? A Beginner's Guide is a good companion read.
Frequently Asked Questions
How accurate does a hand-drawn floor plan need to be?
For everyday uses like planning furniture placement or comparing spaces, being within 1 to 2 inches (2 to 5 cm) on each wall is plenty accurate. Measure to the nearest 1/4 inch if you can, and you will be in good shape. For anything that involves construction or permits, a hand sketch is a starting point only, a professional will take precise measurements and produce drawings that meet local code requirements.
Can I measure a room alone, or do I need a second person?
You can do it alone. Hook the tape's metal end over a doorknob, press it flat against the baseboard with your foot, or temporarily stick it to the wall with a small piece of painter's tape. A laser distance measurer is another option if you do a lot of measuring solo, they are accurate and take readings in seconds.
What if my room is not a simple rectangle?
Break the room into rectangles. Sketch each section separately, measure each one, and then draw them as connected pieces on the graph paper. An L-shaped room becomes two rectangles that share a corner. A room with a bay window is a main rectangle plus a smaller bump-out rectangle. Label each section and combine them on the final drawing.
What scale should I use if my room is very large?
If the room is wider than about 20 feet (6 m) and you are working on a standard sheet of paper, switch to 1/8" = 1' (or 1:100 metric). Each small square on 4-squares-per-inch graph paper then equals 6 inches (15 cm). The drawing will be smaller but still readable. You can also tape two sheets together for larger spaces.
Do I need to measure wall thickness?
For a basic room sketch, you can approximate. Interior walls in wood-frame construction are typically 4.5 to 5 inches thick (about 11 to 13 cm). Exterior walls in newer construction are often 6 to 7 inches (15 to 18 cm) or more, depending on insulation. Masonry walls vary widely. These are rough guides; actual thickness depends on the building's construction method and age, and can only be confirmed by a professional inspection or original construction drawings.